All guides
Installing on Windows
Installing FlClashX on Windows: the wizard in your account, the system prompts, and the first connection.
Who it’s for: Windows 10 and 11, 64-bit; you already have an UnderVPN account
Install the app through the wizard
Start the “Установить и настроить” (Install & set up) wizard in your account and choose your system to get the FlClashX link. Run the downloaded file and finish the installation. If FlClashX will not install, use Happ, then INCY, then Koala Clash.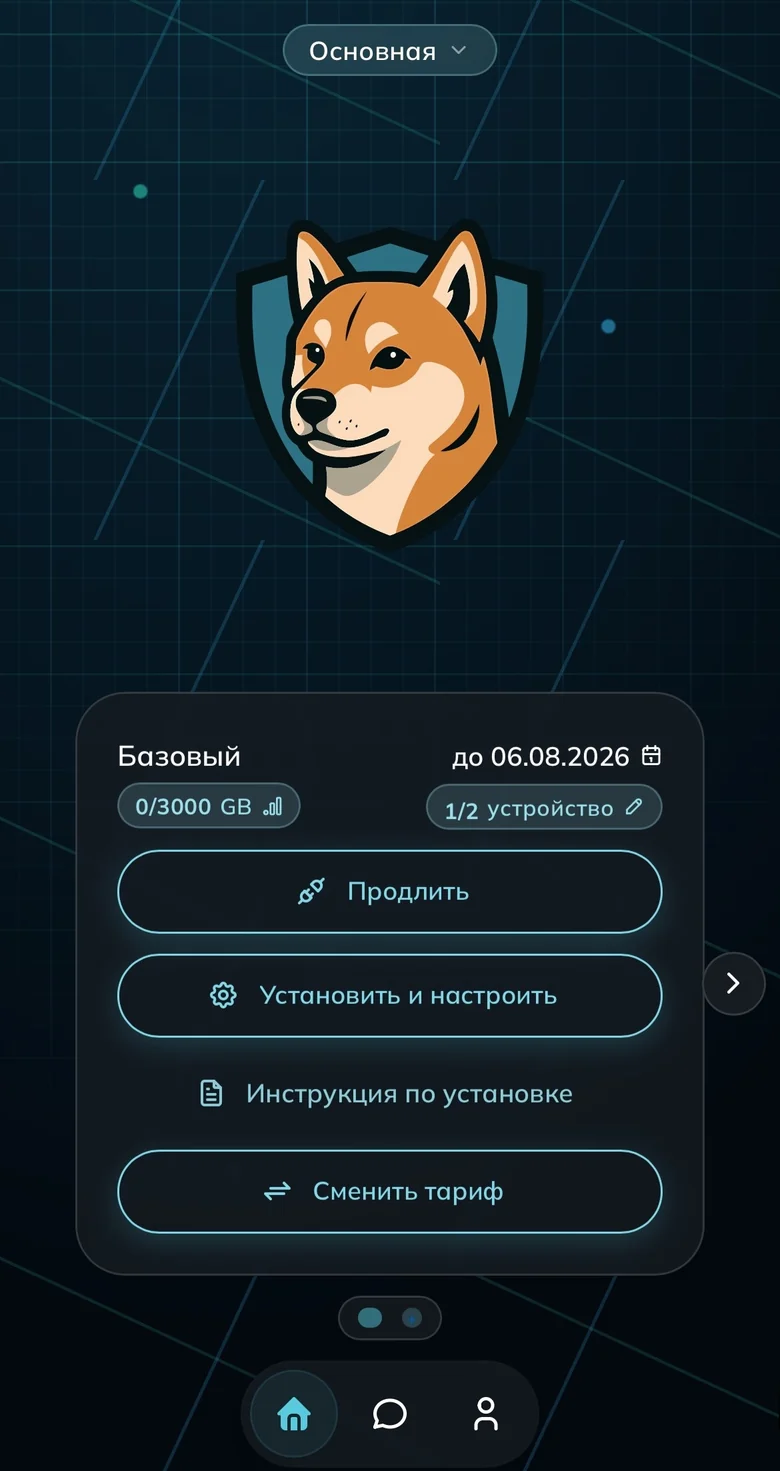
The “Установить и настроить” (Install & set up) button on the subscription card 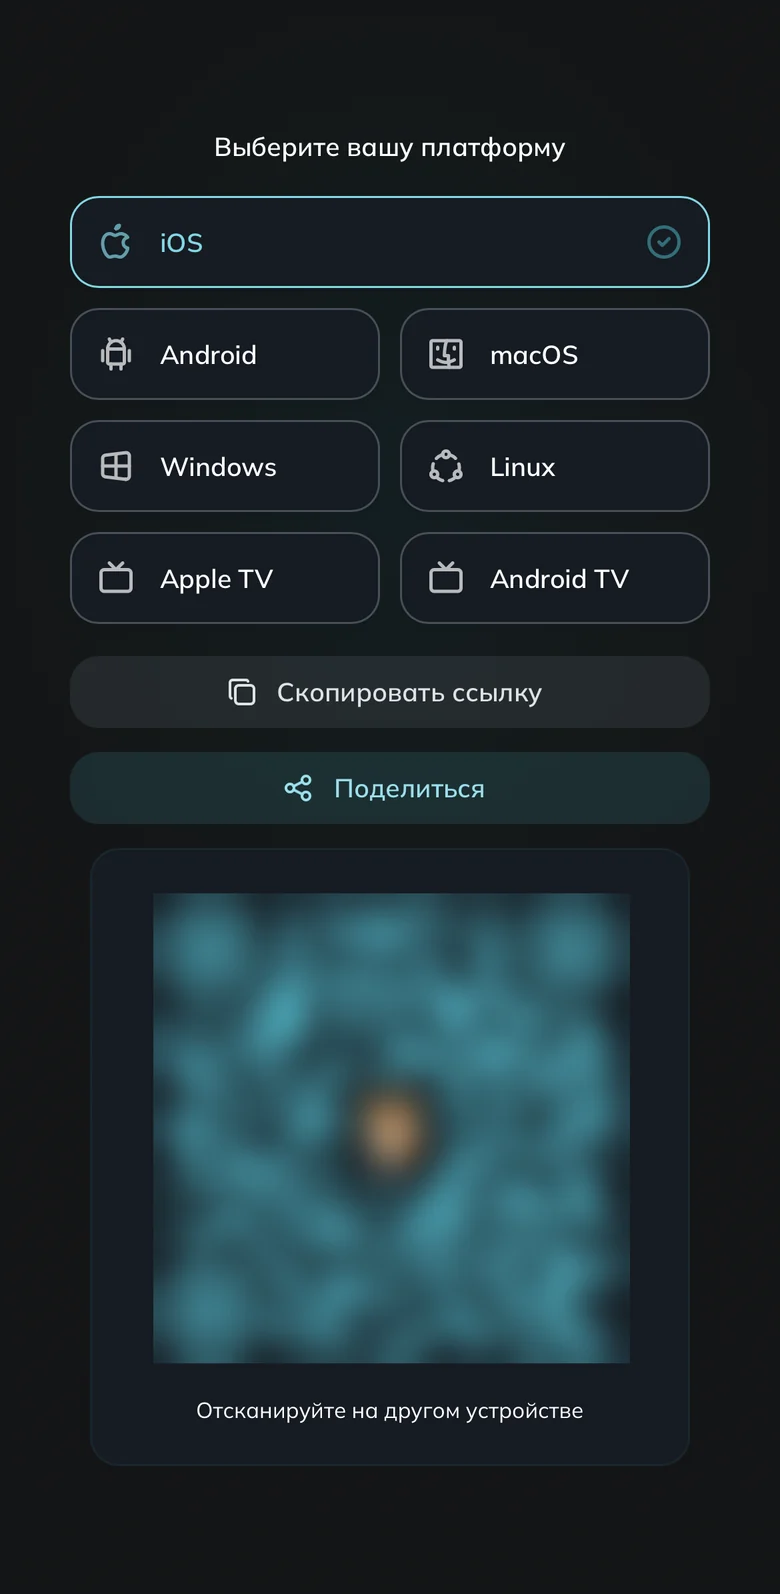
Pick the Windows tile Add the subscription
Press “Добавить подписку” (Add subscription) in the wizard — the profile arrives by itself. If not: “Другое устройство” → “Скопировать ссылку”, then in FlClashX open “Профили” (Profiles), choose “Добавить из буфера обмена” and select the profile.
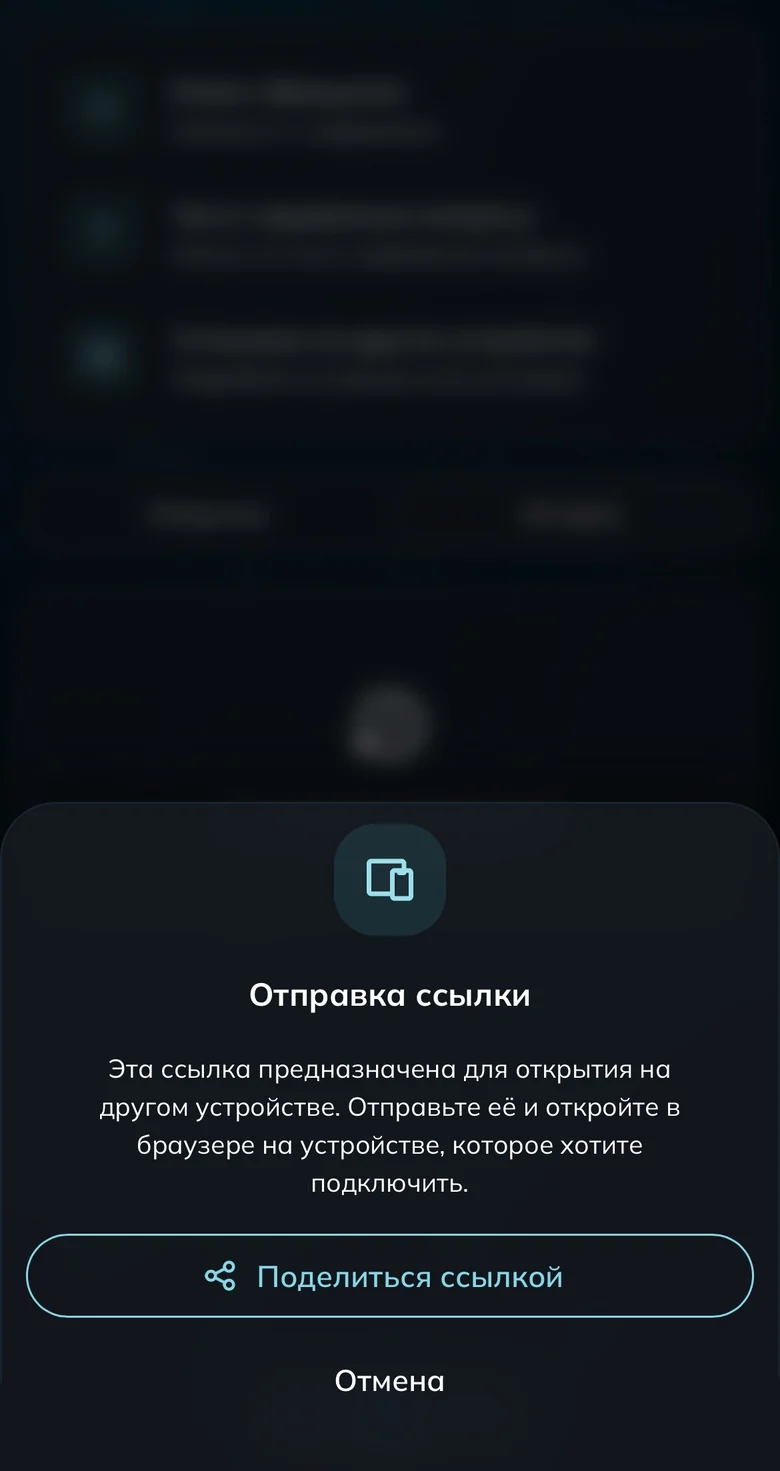
The subscription link can be sent over to the computer Connect for the first time
Press the connect button at the bottom of the main screen.
Done
Common questions
An MSVCP140.dll error appears on launch
Install Microsoft Visual C++ Redistributable (x64) — aka.ms/vs/17/release/vc_redist.x64.exe — restart the computer and open the app again. The same fixes VCRUNTIME140.dll; if the error stays, send support a screenshot.
The app opens but the connection never comes up
Refresh the subscription (“Профили” → three dots → “Обновление”) and reconnect. Still down — change the country. Make sure no other VPN or antivirus interferes. Nothing helps — delete the profile, add the subscription again and contact support.
Ready to join?
5
dayson us
Sign up and try UnderVPN on every device — no payment upfront.
- No card to start
30-second signup